
电光微院计算机部Java授课之SpringBoot入门
Spring框架作为现如今最流行的一个Java框架,大大简化了web应用的开发,Spring Boot框架是在Spring框架上做进一步简化的框架,优化了复杂的xml配置。
Spring Boot makes it easy to create stand-alone, production-grade Spring based Applications that you can “just run”.
We take an opinionated view of the Spring platform and third-party libraries so you can get started with minimum fuss. Most Spring Boot applications need minimal Spring configuration.
Spring Boot的使用
一. Maven中导入依赖导入依赖
首先导入项目
<parent>
        <groupId>org.springframework.boot</groupId>
        <artifactId>spring-boot-starter-parent</artifactId>
        <version>2.3.0.RELEASE</version>
 </parent>
导入web场景启动器
<dependency>
    <groupId>org.springframework.boot</groupId>
    <artifactId>spring-boot-starter-web</artifactId>
</dependency>
starter是场景启动器
SpringBoot将所有的功能场景都抽取出来,做成一个个启动器,引入已依赖e就会导入场景.
二. 编写Controller
我们在项目文件中创建一个类HelloController
//表示一个Restful风格的类
@RestController
public class HelloController {
	//映射/hello路径
    @GetMapping("/hello")
    public String hello(){
        //返回hello字符串
        return "hello";
    }
}
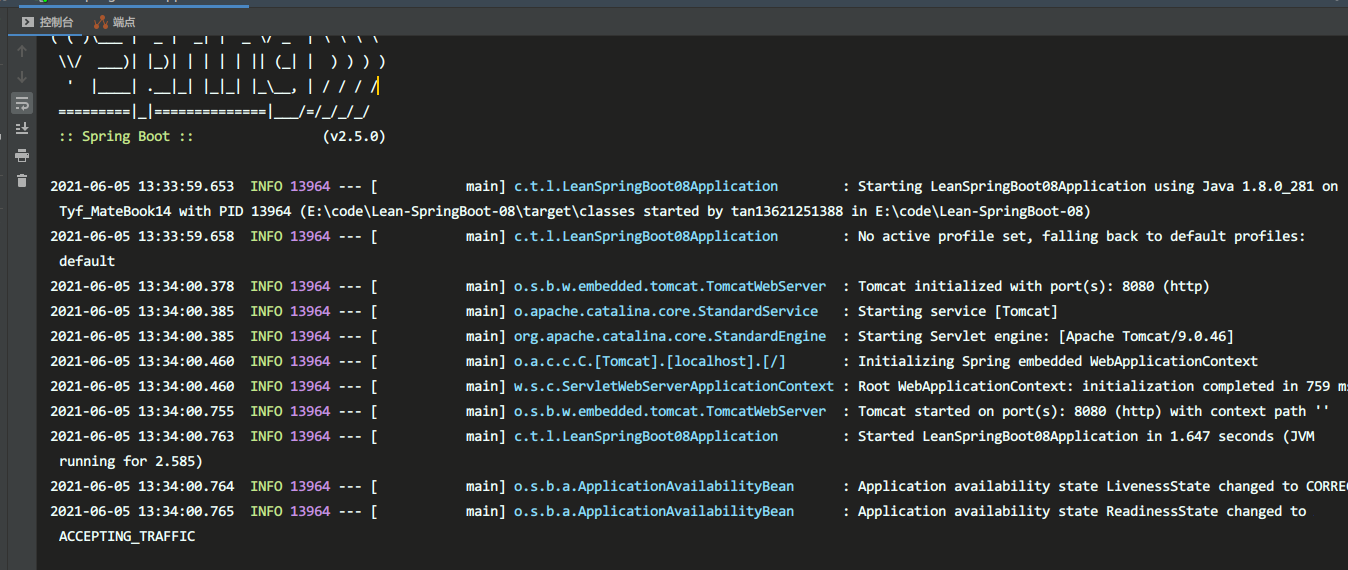
三. 运行主类
我们在项目中找到已经生成的Application类,然后运行即可。
//这个注解就就表示,这个类就是我们这个项目中的启动类。
@SpringBootApplication
public class LeanSpringBoot08Application {
    public static void main(String[] args) {
 SpringApplication.run(LeanSpringBoot08Application.class, args);
    }
}
四. 测试
浏览器地址栏输入localhost:8080/hello
我们会发现浏览器输出“hello”字符串。 入手教程到此结束到此结束。
四.总结
我们可以看到,在使用Spring-boot框架之后,一个后端的构建是非常简单的,只需要配置路径和具体的实现就好了,其中无需要考虑多余例如日志系统以及服务器之类的复杂配置,这些框架已经帮我们做好,如果大家需要做出修改,只需要在配置文件中修改就可以了。这一点大家可以通过后续视频深入学习来了解其中的原理和使用方法。
Spring Boot推荐学习资源:
- Spring官方文档
- KuangStudy
- 尚硅谷
- SpringBoot中文参考手册(pdf) 密码:ilikecomputer


